Showing posts with label binding. Show all posts

Wednesday, August 14, 2013

Quilting, Sewing, Gettin' My Hexy On...

Well, another month has passed. I decided another blog post is way overdue, so this is just basically a catch up post for what I have been doing since the last post.

 This one is still on the frame right now. This is the backing. I see this fabric all the time at Joann's and I finally decided I had to have it for this quilt. I am not showing the quilt top yet, as it was a pattern test for a bloggy friend, and I think she might do a blog hop, so I didn't want to spoil it.
 The pattern called for fat quarters and I had leftovers, so I made the binding scrappy.
The colors are very vibrant, and I did not wash them first so I hope the new dye catchers I bought do what they are supposed to do!


I finished a baby quilt for my office mate. He had his first. It's a boy! I didn't have this information when I made it :)

I quilted it with a loopy ruffly looking pattern.

 And, of course, I still been getting my Hexy on.... on the train commute in the mornings. There are about 50 flowers in that pile!

Last weekend I went to a thrift shop for which I had seen an ad in the paper saying fill a paper bag all you want for $5. When I showed up I found out I was a week early. I then proceded across the street to another thrift store and hit a gold mine for fabric! Boxes upon boxes of quilting fabric, most from the mid 1990s. There was Moda, Michael Miller, Timeless Treasures to name a few. Most were 2-3 yard cuts. They were all marked as $2 per yard!!! But.... that day was 50% off everything in the store! Thats' right! I paid $34 for what I bet is 40 to 50 yards of great fabric! Jealous???

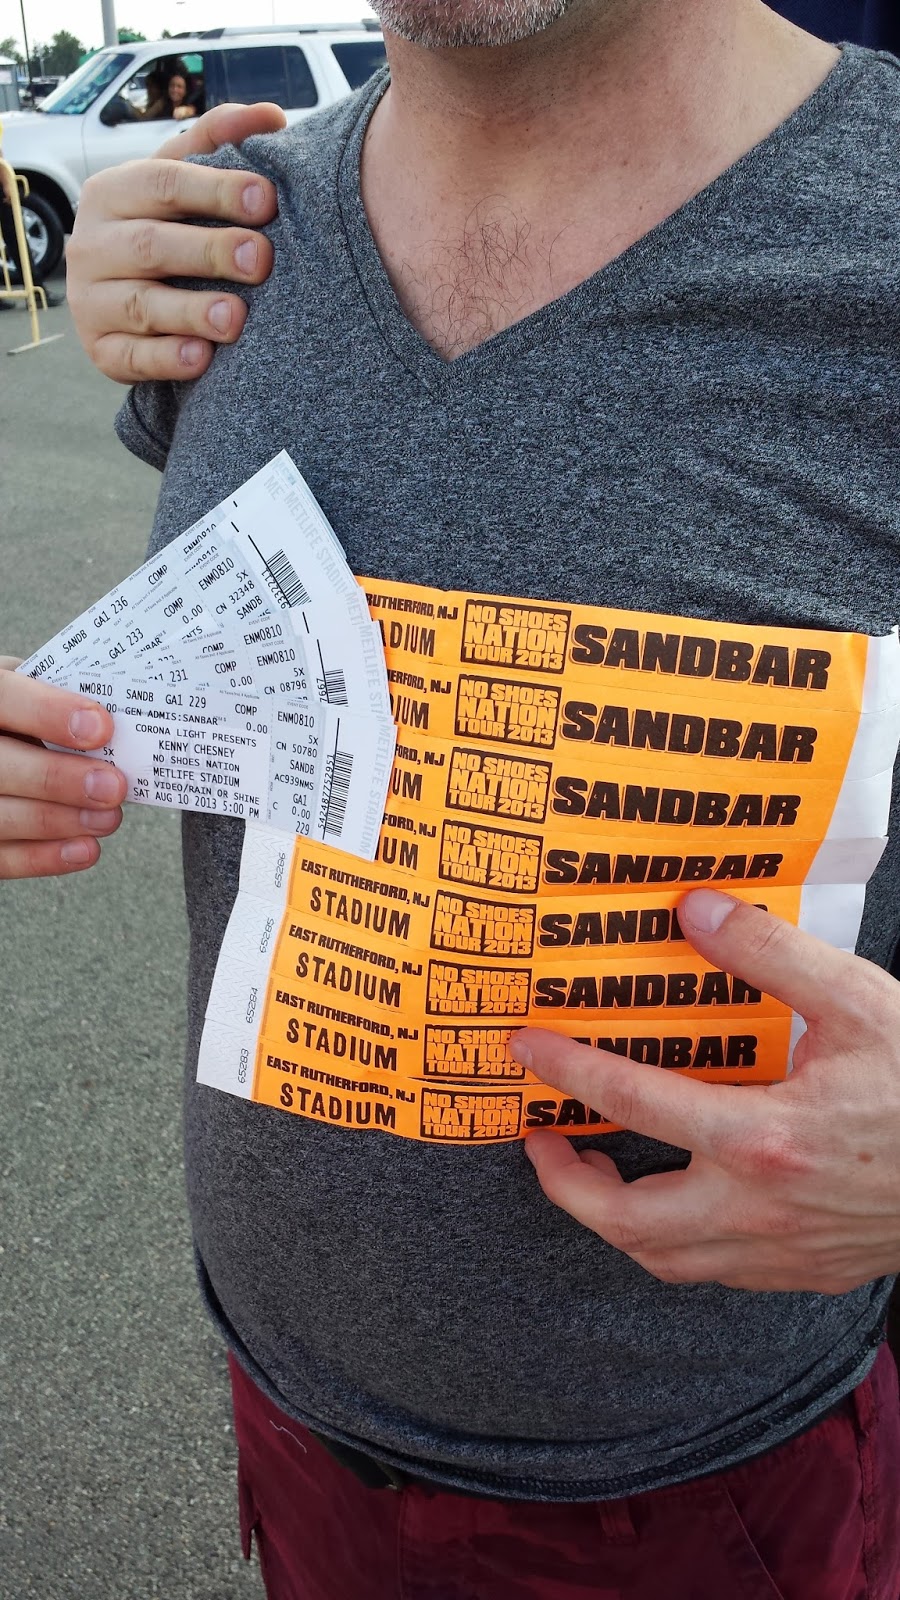
Oh, and I went to the Kenny Chesney concert last Saturday. We were in the Sandbar! Jealous???

Hope all is well on the quilting front!

Until next time,

Mike.


Pin It!

Saturday, May 11, 2013

Google+ What's the Fuss? ... A must read for Blogger users.

There is still time to enter my giveaway!!! It ends tomorrow at midnight EDT.

I just wanted to say that it has been an interesting go around this time. Three people have emailed me or sent me a message via Facebook, Twitter, Email saying that my blog only allows them to comment if they sign up for Google+. I wanted to point out the positives and negatives here and clarify this. I have also allowed those readers to enter anyway by sending me an email so I can include them. (I'm just a good guy. Ask my mom.)

First off, making your blogger profile connected with Google+ no longer automatically makes you a "no-reply" blogger. They have fixed that. I've tested it with my wonderful blogger friends (Richard and Tanya Quilts and Diane at From Blank Pages) and IT'S TRUE!!!

Secondly, if you are not logged into a Google account (G+, gmail, or whatever) and you would like to comment on my blog, it will ask you to sign in. It does not mean that you are going to associate your blogger account with G+. It just needs to know who you are so you can leave a comment. It DOES appear that it is asking you to sign up for G+, but in reality Google has made it so that if you have any kind of Google account, you automatically have a Google+ page (whether you use it or not). Just sign in to your Google account and don't worry about it.

Thirdly, if you activate "Google+ comments" on Blogger, only people with Google (any account they are logged in with) can comment on your blog. No anonymous users. This is fine with me because I never allowed anons anyway. Too much spam!!!

If you have any questions, or want to test out your settings, shoot me an email (amateurquilter at gmail dot com) and we can work together on this.

Fourthly, I've decided that now when I do a giveaway I am going to give readers the option of commenting on my Facebook page if they do not have a Google account. I think it will be a good way of getting more "likes" on my page :) and it will keep me from alienating readers.

Lastly, it's inevitable. You're going to have to make G+ part of your blog. They are slowly getting us used to it. Blogger and G+ are going to be fully integrated at some point. The only question is, do you make the leap now or later. I don't work for them, but I have an MBA and a very good understanding of business and marketing. Face it. It's going to happen. On a good note, and I hope this is true, I hope they will follow the way of Wordpress and allow you to log in also with your Facebook or Twitter accounts as well if you want to leave a comment, but we will see on that.

I guess this would be sixthly, but I also wanted to mention that the integration with Blogger comments and Google + is phenomenal. When you comment on another G+ integrated blog, it will also give you the option of posting your comment to G+. So, it keeps a record that is also shared with your followers, i.e. they can see what blogs you visited and left a comment on. A great way of letting your followers know what you are following and what you found interesting without having to post about it! I love it!

And, I can't write a post without a nice quilting photo so here it is:


Today I am putting the binding on this quilt. I bought a beveled foot that is supposed to make machine binding come out more perfectly. I'm skeptical, but we will see. This picture is from the infant stages of this quilt. I hope to link it up for Link a Finish Fridays at Richard and Tanya Quilts next week.

Until next time,

Mike.

Pin It!

Friday, May 3, 2013

Is it Binded or Bound?

Once the binding is finished on your quilt, is it considered "binded" or "bound?" I had this conversation with a friend this morning on the train. (I happen to be making him a quilt at the moment.) We think that in the quilting world "binded" is acceptable, but not so much in other contexts. Thoughts?


I'm about to sew the binding on this hexy quilt. So, does it need to be bound or binded?

On another note, I am having a big giveaway as part of Sew Mama Sew starting Monday. I have a sponsor (they're first time sponsoring a blogger!). You don't want to miss this prize!!!

Also, you all know how Hexy I am :)... so I started a Google community for English Paper Piecing called "I'm Hexy and I know it!" Come join through this link :) I've made the leap and integrated Google+ into my blogger account, including comments. They finally fixed the issue of it making you a no-reply blogger, so I hope you all will make the leap too :) Inevitably you will be forced to make the leap... sooner or later! If you want to follow me there take a look at the "Follow Me" box on the right of my blog.

Until next time,

Mike.

Pin It!

Friday, April 27, 2012

Craft Nurse Quilt is having a giveaway!!!

It's some lovely fat quarters :)

Link here:

Craft Nurse Quilt Giveaway

Ends Monday 4/30 at midnight eastern.


Also send her an email if you have binding tips.

For me, I found a tutorial from Moose on the Porch Quilts. I don't use the whole tutorial, but the part about putting the ends together, it works perfectly every time. It starts on page 7 of this pdf:


So, CNQ, I hope this helps!

Mike.

Pin It!

Wednesday, April 11, 2012

WIP Wednesdays... Pucker Up!!!

Hate to share my misfortunes, but I just finished quilting my Mother's quilt and when I was done all I could say was "Mother Pucker!!!" I need to write this post so that I can learn from my mistakes. It helps me to "ingrain in the membrane" and work it all out.

Ok, I haven't binded/bound it yet, but here are the pics (laid on a King size bed, but the quilt is Queen):


Puckering below (if you can see it) and some stitches ripped out :(

Binding below. And a kitty that likes to play with it :)

I need to figure out what caused all the puckering. I have some ideas:

1. Trying to baste (spray) on a design wall that is not suited for a quilt of this size.
2. Not spraying it thoroughly because of the size and the design wall limitations.
3. Not checking underneath while free motion quilting to make sure there were no problems (especially since I was breaking thread between every loopy flower design).
4. The quilt was so big and my sewing table so small, there was a ton of adjusting and a ton of overhang causing the baste to lose its hold.
5. Quit trying to rush things and looking for instant gratification.

I could go on and on I am sure. But, I think next time I will just be extra careful to check the back more often. I might even pin some of the outer areas (this is where most of the problems occurred). A nice solution would be to just buy a long arm :) Would probably make a Queen much easier to deal with! I know I was flattening and spreading, but I just did not feel the puckers with my gloves on! And, it happened in about 15 places!!!!!

Anyway, thought I would share. My mind is fluttering with tons of other ideas for fixing or for what went wrong, but feel free to share your thoughts!

I'm linking up at Freshly Pieced WIP Wednesdays!

WIP Wednesday at Freshly Pieced

I also wanted to mention that I have linked up at the "new bloggers" link party. If I reach 50 followers, I'm having a giveaway!

Until next time,

Mike.

Pin It!

Friday, January 13, 2012

Whipping up some potholders.

In my last post I decided that quilting a large project was just too soon for me. I came up with the idea that since Christmas was just around the corner, everyone needed potholders made by yours truly :) It turned out to be great practice for free motion, stitch in the ditch and using a walking foot. I also got much need practice for doing binding (on a smaller scale).

 These are 9 x 9. I gave these to Aunt D. She is from Lithuania so I used the colors of the Lithuanian flag!
 The quilting I did in straight lines, one inch apart, but I did it free motion.
 For batting on all the potholders I used something that was made for potholders that would retain heat and be fireproof.
 These are my "groovy" potholders I made for T & D. They are my "hippie" friends :)
 I used cotton thread on everything (Gutermann) because I was afraid that the polyester might melt.
 I did stitch in the ditch with the walking foot on these and the next ones below. My machine has a built in walking mechanism that you can engage and disengage.
 I did these for my friend M. visiting from Massachussetts. I was told that "Toile" would go with her kitchen.
 Making the loops was an experiment in itself. I got better at it by the time I made these. I ended up starting right on the corner and when I got to the end I kept right on going with sewing the binding strip (sans the layers). Then, when I had a long enough strip, cut it to the desired length, looped it around and sewed it down to the back.
 I was on a time crunch with these because Christmas was approaching and the only material I could find that was toile and blue was a canvas material, but it worked out well.
While the Lithuanian potholders were 9 x 9 inches, the others were 7.5 x 7.5 inches, which I thought was a more ideal size.

Anyway, the potholders were a real hit at the gift exchange on Christmas! The only thing left for me to do now was start quilting a real quilt. But, how should I do it? Free motion? Walking foot? I couldn't decide. I only knew that the blue ribbon quilt was getting done next, and I dreaded making a mess out of it! Me being the impatient, "what's the quickest way for the best result" type... I jumped right in!

Stay tuned.

Mike.


Pin It!